Preheat the oven to 170°C. To make the first batter, combine the oil, sugar, cocoa, food dye, flour, salt, vanilla, bicarbonate of soda and vinegar in the bowl of a freestanding electric mixer and mix on low speed. Increase the speed to medium. Add the eggs one at a time, until combined. Slowly add the buttermilk to make a thick batter. Pour into a 25cm and a 20cm tin and bake for 40—45 minutes or until a skewer inserted in the centre comes out clean.
Make the second batter (the same way) and pour into the second 25cm and 20cm tins. Bake as above. Make the third batter and divide between the two 15cm tins. Bake for 35 minutes or until a skewer inserted in the centre comes out clean.
In a large bowl, cream the butter and cream cheese together until light and fluffy. Mix in the vanilla. Add the icing sugar a few spoonfuls at a time, beating until light and fluffy. Cut each cake in half and fill with frosting, then sandwich back together. Place frosting between each of the same-sized cakes to sandwich together and form a tier. Place each tier on a matching-sized cake board secured with a little frosting. Cover the top and sides of each tier with cream cheese frosting and place in the fridge to set. (You will now have three frosting-covered tiers.)
Roll out the white fondant until smooth and cover the base tier and the top tier. Using a quilting tool, add decoration to the base tier. Pipe a fine lacework pattern of dots on the top tier using royal icing. Add enough red food gel to make bright red fondant, knead well and roll out to cover the middle cake tier. Smooth. Cut out red fondant hearts, stencil with patterns and secure to the red tier with royal icing.
When ready to assemble, insert 3—4 wooden dowel pieces, cut to size, in the base tier to support the middle tier. Put the middle tier in place. Add more dowel pieces, cut to size, to the middle tier to support the top tier. Place the final tier on top. Finish the cake by topping with red roses wrapped in plastic or florist tape (so the stems do not touch the cake). Sprinkle a little lustre dust over the roses.

The Signature Challenge – Cheesecake
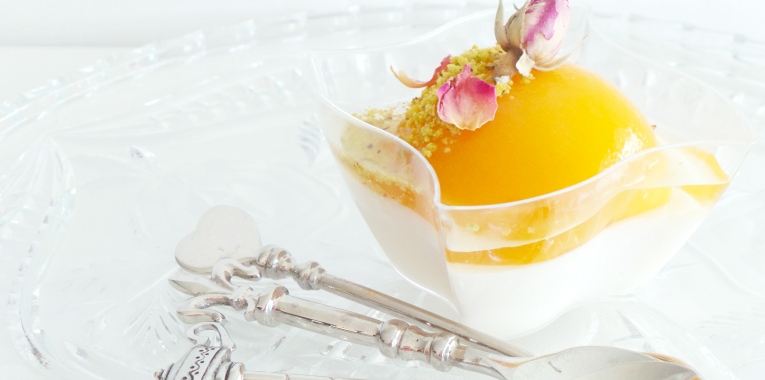
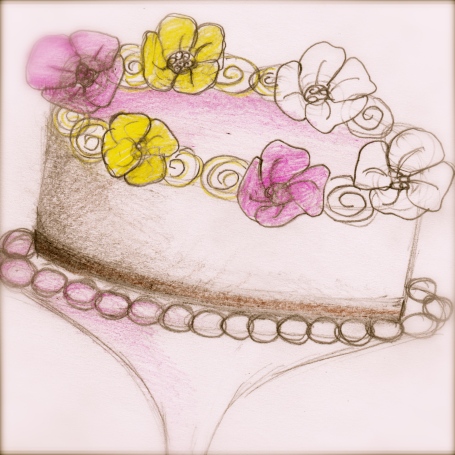
Through out these challenges week after week I have always tried to create something that everyone can be inspired to bake at home, no fancy gadgets or unattainable complex ingredients. I have tried my best to show how I bake at home. This cheese cake has all the citrus notes of both orange and lemon, the sweet fragrance of honey and spice. Well it all begins with a picture!
A step by step view

Cream the cheese till nice and smooth

Add the eggs one at a time incorporating well into the cheese

Firmly pack down the biscuit base

Once all ingredients have been added the cheese batter should be smooth

Ready to bake, cover the outer cake pan with foil and sit it in a shallow water bath in the oven while baking

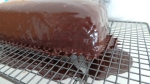
Baked cheese cake cooling down overnight


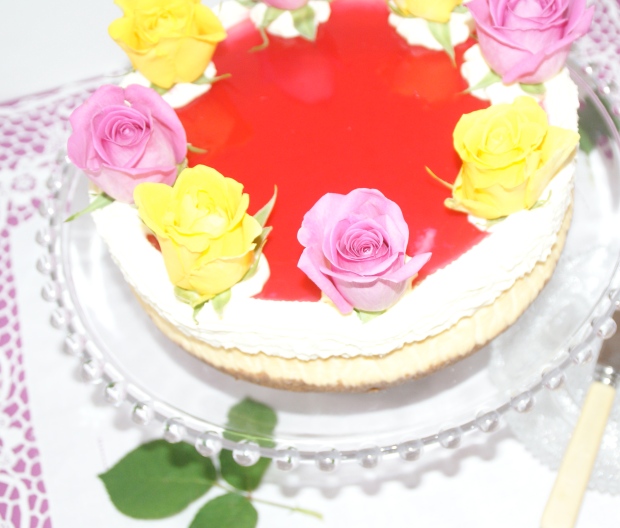
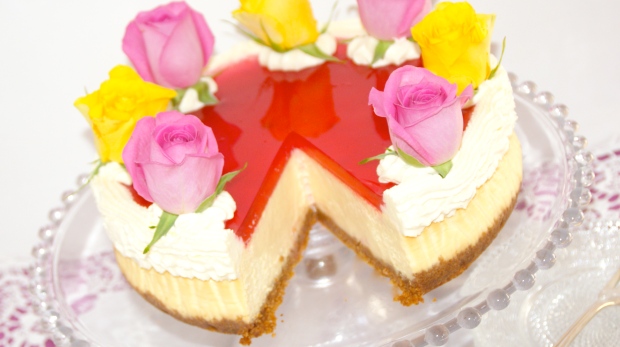

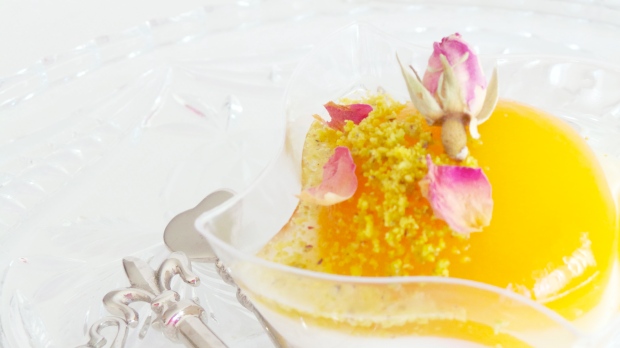
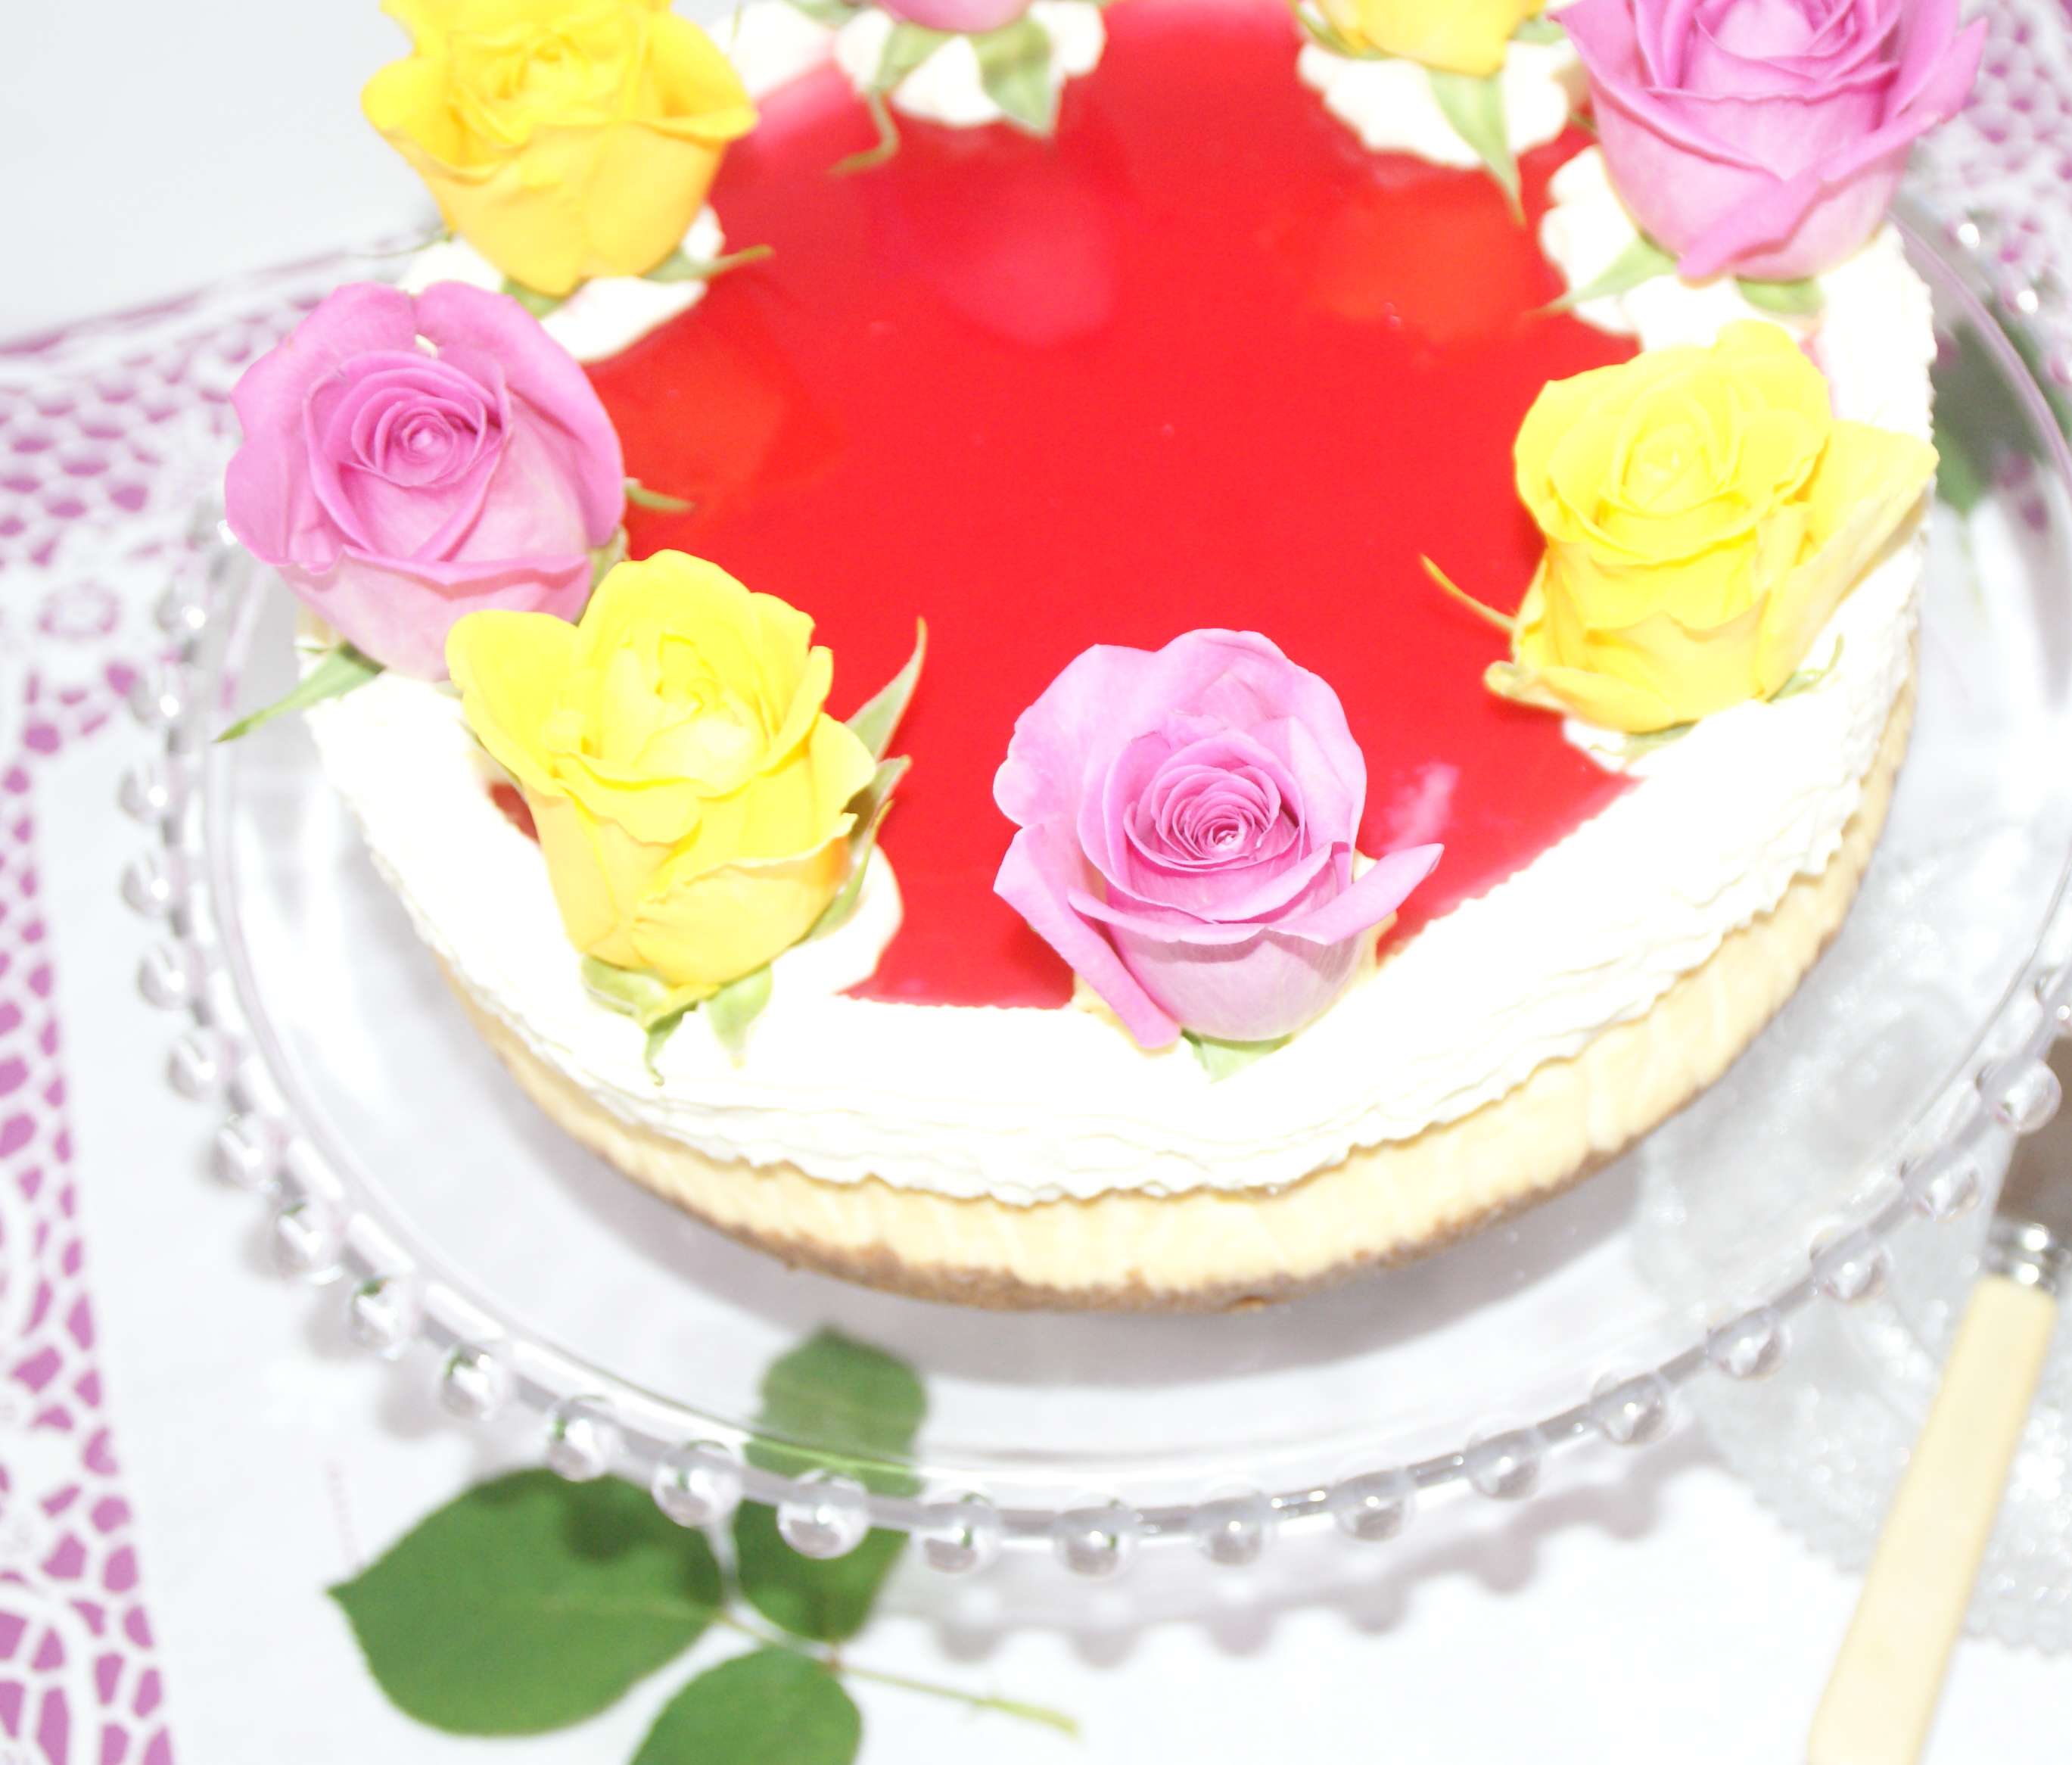
Honey & Orange Blossem Rose
Ingredients List:
Please supply us with an ingredients list for your Baked Cheesecake (below)
Base:
1 pkt Ginger nut biscuits (Crushed)
1 t Cinnamon powder
100g Butter (Melted)
Filling:
750g Cream Cheese (Room temperature)
1 c Caster Sugar
1 T Orange Blossom Water
1 each Orange and Lemon Zest (fine)
1/4 c Milk
3 eggs
1/2 c Light Sour Cream
1 T Vanilla Bean Paste
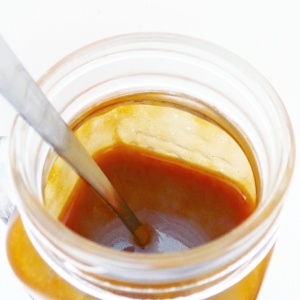
Honey Jelly:
100 ml Hot Water
1 T Gelatine
300 ml Water
2 T Honey
2 Drops of Queens Rose Pink Food Colouring
1 T Rose Water
1: Put 100ml of hot water and gelatine stir to dilute add sugar, honey and food colouring. Add 300ml of cold water and stir to combine. Allow the jelly to come to room temperature.
2: Allow to cool slightly before pouring onto the cheese cake. Place the cheese cake in the fridge to set before piping the cream.
Topping: Whipped Cream
1 1/2 c Cream
2 T Icing Sugar
Garnish:
Fresh 8 x Pink and 8 x Yellow Rose petals (few extra of each)
Method:
Pre-heat the oven to 170C. Bake for 50 minutes in a water bath.
Grease and line with baking paper one 10 inch springform cake tin outer base covered with foil, to be placed in a deep baking dish for a water bath.
1: Place all in a food processor add the crushed biscuits and melted butter and pulse till fine crumbs. Press an even layer into the base of the cake tin its optional but you can line the sides too.
2: Using a large standard mixer (medium speed) cream together the cream cheese, sugar, zest of lemon and orange and the orange blossom water until smooth.
3: Add the milk and beat till smooth (on low to start). Add the eggs one at a time beating well after each addition. Add the sour cream, vanilla bean paste beat until combined.
4: Pour the cheese mixture into the cake tin. Making sure that the cake tin is water proofed with the addition of foil wrapped around and up the sides of the outer edges. Place the cake tin into a deep dish and add hot water about a third of the way up around the tin.
5: Bake for approximately 50 minutes, leave the cheesecake to cool completely, place in the fridge, to firm before decorating (preferably overnight but at least 4 hours).
6: Whip the cream till almost thickened and them add the icing sugar to sweeten. Fill a piping bag with the whipped cream and pipe a neat circle around the edge. Place it back in the fridge again. Make the honey jelly as you are using hot water leave the jelly to come to room temperature before pouring it slowly into the inner edges of the cold cheesecake leave in the fridge to set.
7: Once the jelly has set pipe large rosettes of cream around the edge of the cheesecake about 8 equally spaced (approximately the size of a 20 cent piece). Place pink and yellow rose petal on the cream swirl all round the cake.
Ta-Dah! I hope you enjoy my recipe!
A word of advice once you have made “HOME MADE CHEESECAKE” nothing will ever taste as good!