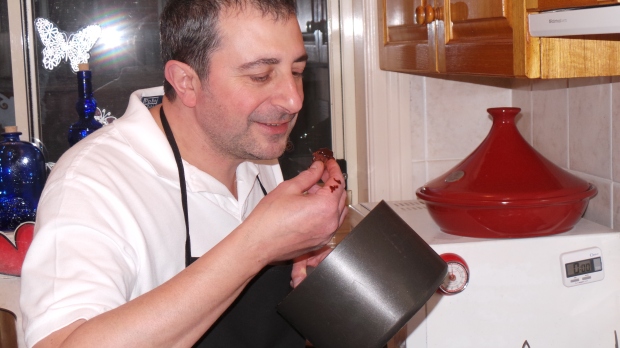
Now as you look through the pictures you will notice that there is another baker in the house today. My husband who has never baked before has chosen to spend the cold wet Melbourne day baking. He has been all inspired by the checkerboard cake and decided that this was going to be todays challenge!
For this recipe please click on the link below.
Recipesgabo.ninemsn.com.auFancy a bit of baking? Download recipes from Australia’s biggest baking reality series and try your hand at recreating them at home.
These are a few step by step pictures to help you along when making this cake and also some tips and hints to remember.
Step 1
Preparation is the key to all successful bakes,
Pre-heat the oven
Measure out all your ingredients
Prepare your baking tins
Unless otherwise requested all ingredients should be at room temperature.
Step 2
You begin by aerating the butter, sugar and oil, till pale in colour and has a fluffy appearance add the eggs one at a time and remember to stop the mixer and scrap down the sides and bottom of the bowl making sure all ingredients are mixed in well
I have chosen to alternate the addition of the dry ingredients – Flour and wet – Milk and juice while the mixer is on a medium speed
Divide the batter between the two cake tins and bake for approximately 45minutes
Please try NOT to open the oven door till your cake is at least 3/4 of the way through its set baking time…..resist the temptation to open the oven door!
Use a metal or wooden skewer to pierce the centre of the cake, it should come out clean if its sticky then leave the cake in the oven for a further 5 minutes and try again.
Once the cakes have baked allow them to cool in the tin for 5 – 10 minutes then flip them onto a cooling rack
Follow the same steps to make the Chocolate cakes
Step 3
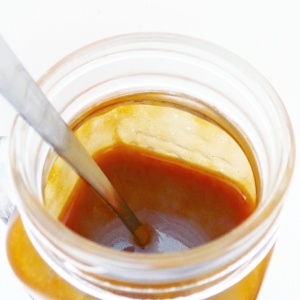
While the final cakes are baking its time to prepare the Chocolate frosting
Bring the butter, water and brown sugar to a simmer, if the liquid has accidentally boiled remove it from the heat and allow it to cool down a bit before adding the chocolate (If you add the chocolate into boiling liquid it will burn and become grainy in texture) Once you have added the chocolate use a whisk and keep stirring till the chocolate and butter liquids become smooth and glossy…..YUM!
Pour it into another bowl and set aside to thicken and become spreadable
A copy of the template is in The Great Australian Bake Off Book that you can trace to use

Step 4
To get perfect looking squares you need to level the cakes first, this will require slicing the tops off all four cakes so that they are now flat and equal height
Once all the cakes are level, use the template to guide you around cutting the rings. Take your time its delicate and a little fiddly but so worth the effort.
Ok as a little reward for all that cutting and levelling stirring and baking I think a little tasting is in order.
Step 5
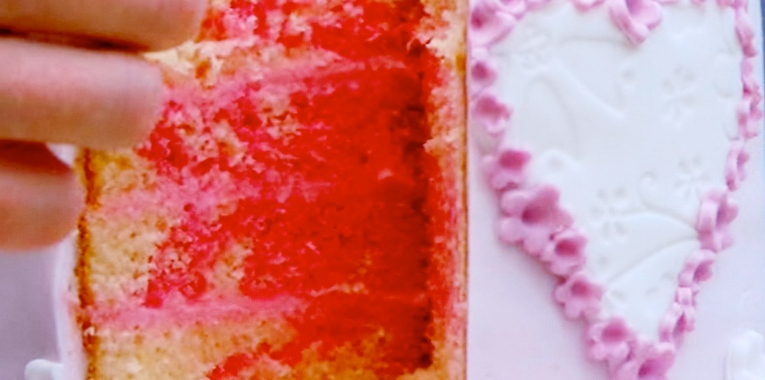
The assembly is a the fun part all the cakes are cut so its time to apply the frosting around the edges of the inner circles and reconstructing the cakes. You will need to alternate the colours to achieve the desired checkerboard result.
After completing each cake a good layer of frosting is spread and the next cake is constructed on top.
*Just a note you need enough frosting so that the rings will stick together but not so much frosting that the cake is swimming in frosting.
Step 6
Reserve about 3/4 cup Chocolate frosting for final decorations (set aside)
Once the cake has been constructed its time to pour the remaining frosting over the cake and using a pallet knife or cake decorating spatula evenly distribute the frosting around the cake
At this point you might like to experiment with different patterns like creating swirls, lines or just making the edges smooth
Using a piping bag with a star tip decorate the edges and grate some orange zest around the edge, this is the fun part and its entirely up to you
This is the sensational finished result………and what looks like one very exhausted but very proud Baker!
Prior to The Great Australian Bake Off I too have always seen and heard of the checkerboard cake but never attempted it. It is a gorgeous cake and the possibilities are endless when it comes to flavours although I love Chocolate & Orange I think I might make a Chocolate & Mint one in the very near future. I hope you all take the opportunity to bake the Checkerboard cake too. Enjoy.