
Home made bread has to be one of the most satisfying foods. We eat bread morning noon and night as a snack or accompanying an elaborate dinner party or a simple Barbecue. Bread has always been the corner stone of a light or main meal. A staple that even when the pantry is bare bread was enough to sustain the hunger.
Some countries are ferociously possessive of the flour and the techniques they use to produce the perfect loaf. That distinctive aroma of a freshly baked Vienna or the sour rustic notes of a crusty heavy sour dough where the smell lingers long after the bread has been devoured by hungry workers or a famished family.
Bread is one thing everyone remembers from their childhood day. Growing up and purchasing a fresh bake from the local bakery where the dough has been lovingly shaped and proved then baked to crispy perfection. As the baker hands you one of his prized possessions he instinctively taps the bottom of the loaf ensuring the distinctive hollow sound is heard, a mark that all is well or rather baked well just before the hand over is complete.

Although my recipe has been adapted for the domestic oven, never the less does the technique of making bread change.
Bread Dough
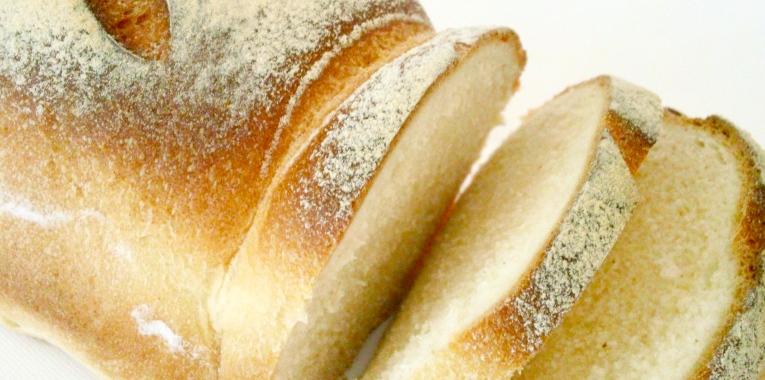
Makes 1 large Vienna or 2 Cobs or 12 dinner rolls
500g Bakers Flour
2 tsp Dry Instant yeast
1 tsp Caster Sugar
1 tsp Bread improver
1 Tbs Milk Powder
1 tsp Salt
1 Tbs Unsalted Butter (room temperature)
1 Tbs Rice Bran Oil
335ml Water (approximately)

METHOD
- Add all the dry ingredients and using a standard mixer with the paddle attachment on slow speed mix all.
- Remove the paddle and now attach a dough hook. On low – medium speed add the butter and begin pouring the water into the flour mix. Add the first 300ml then if required add the rest you really need to feel the dough if its too sticky then naturally do not add any more water or if the dough feels and looks dry then add a few extra tablespoons of water at a time to get the wright consistency.
- Once the dough has come together, looks smooth in appearance and you are able to do the “Window test” with a small piece of dough, then we are ready for the next stage.
- Stop the mixer, remove the dough hook and cover the bowl with some plastic, and leave it to rest for 15 – 30 minutes.
- On a lightly floured surface and a little oil on your hands remove the dough from the bowl shape into the desired shapes making sure you flatten out any large air bubbles that may have formed, place the dough onto prepared pans or trays. If you are using loaf pans then fill the with dough to just over half full with dough.
- Allow the dough to rest for approximately 30 – 40 minutes in the baking trays or tins. I like to put them in the oven with a cup of boiling hot water in the oven just to create a little moisture in the air as it rests. Then when ready take the dough out put it aside while the oven is heating up.
- 15 – 20 minutes Before baking Pre- heat the oven up-to 230 Degrees Celsius if your oven permits.
- Place a deep dish grill tray on any other shelf where it will not interfere with the rising dough. Place the dough on a rack in the centre of the oven and add one cup of hot water from the tap to the grill tray then quickly close the oven door to trap in the steam.
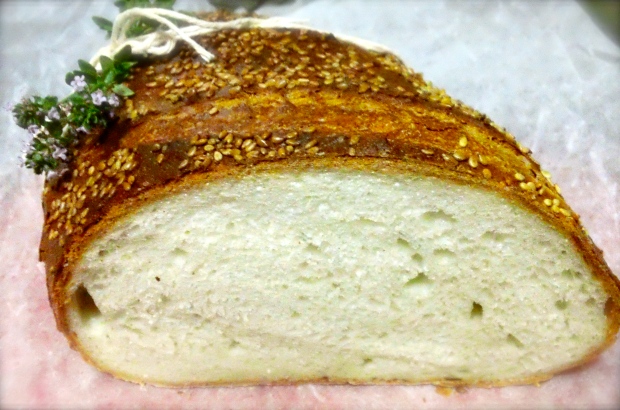
- Bake the dough for approximately 30 – 35 minute to a dark golden brown colour.
- Remove the bread loaf from the pan and allow to cool completely on a cooling rack before slicing.


Those loaves are so gorgeous!! Wow!
My very favourite …enjoy 🙂